Mark Making and Collage: An Animal Art Activity for Kids
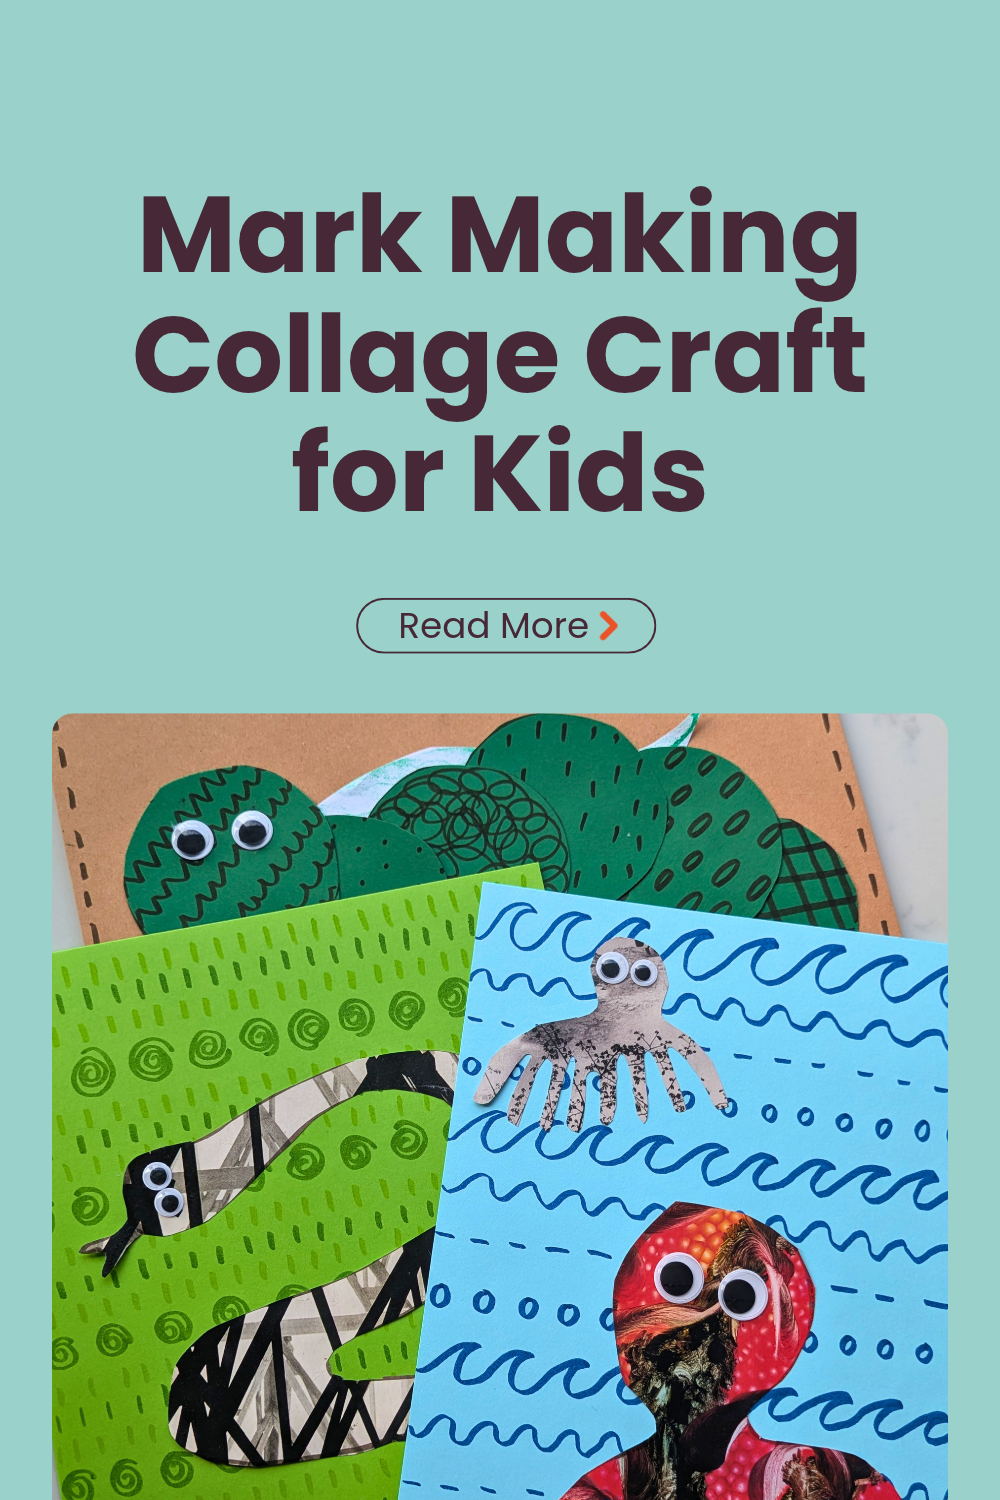
Turn dots, lines and squiggles into a colourful animal collage! This simple art activity brings together mark making, cutting and arranging, with plenty of room for children’s own ideas.
It’s especially suited to KS1 children (ages 5–7), but older children can explore more detailed patterns, shapes and compositions too.
What you’ll need
Plain or coloured paper
Felt-tip pens, crayons or pencils
Scrap paper or old magazines
Scissors and a glue stick
Animal stencils or templates, if wanted
Optional googly eyes, or paper to draw your own
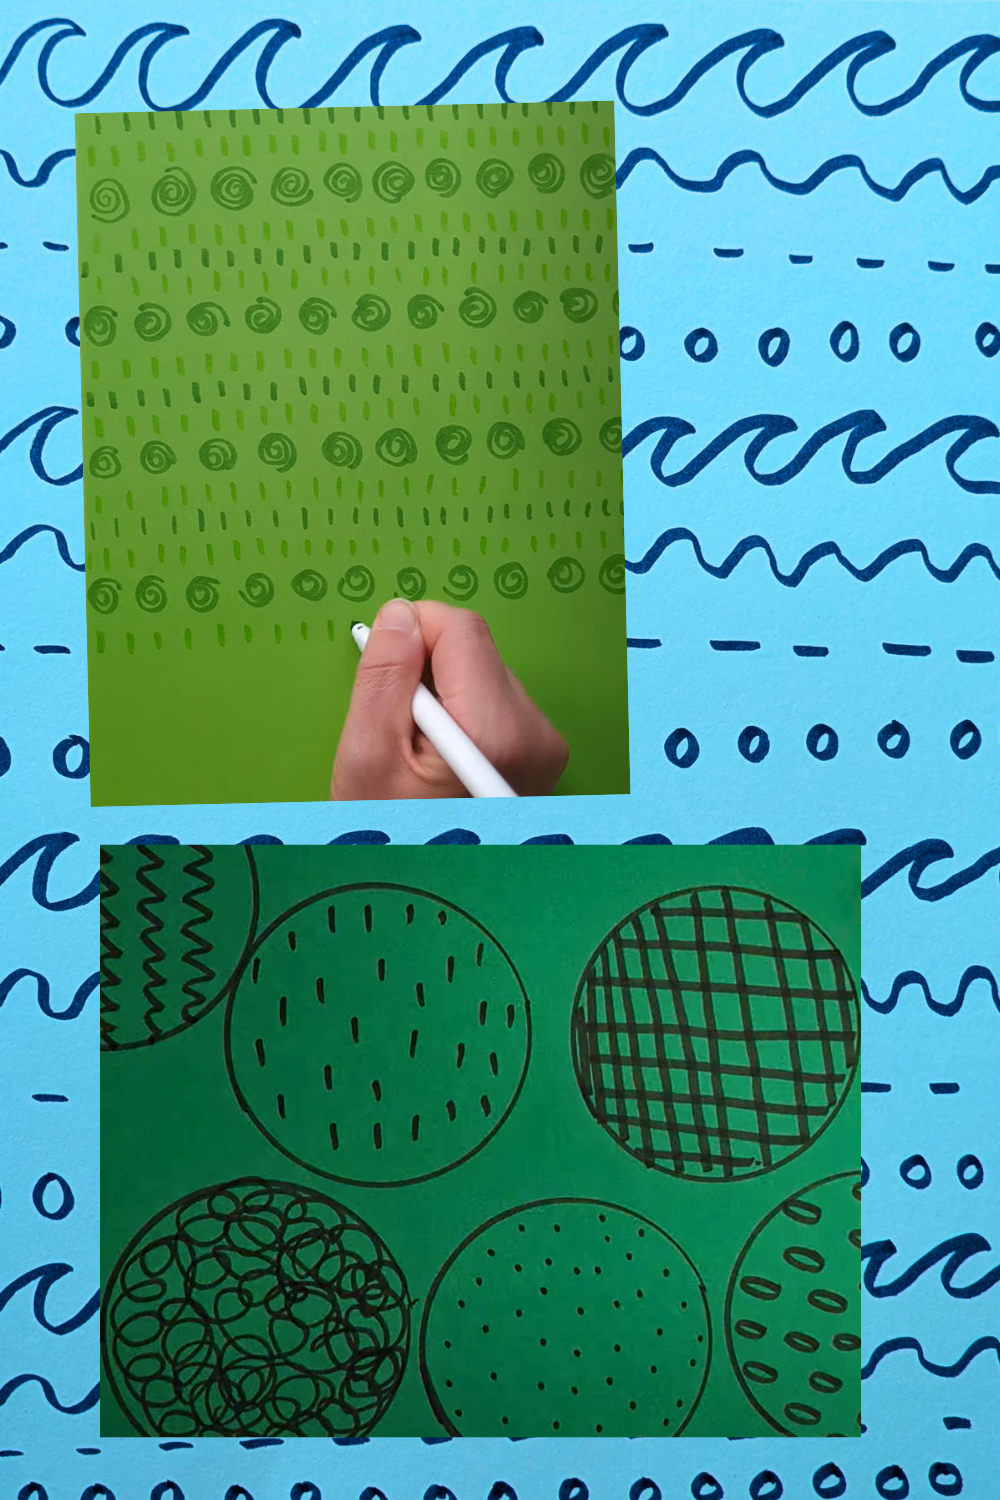
1. Create your marks
Fill your paper with different marks. Try dots, dashes, spirals, zigzags, loops and wavy lines. Repeat them in rows or mix them together.
You could decorate a whole sheet or draw large circles and fill each with a different pattern. These can become the sections of a caterpillar!
Experiment with pressing lightly or firmly, changing colours and leaving different spaces between your marks.
2. Cut out your shapes
Cut animal shapes from your patterned paper or old magazine pages. Draw your own outlines or use animal stencils to help.
Keep shapes simple: overlapping circles make a caterpillar, while a long, curved shape becomes a snake. Combine smaller pieces to invent a creature of your own.
3. Make a habitat background
Where might your animal live? Use marks to suggest its surroundings: flowing lines for water, short strokes for grass, or branching lines for trees.
This is a lovely opportunity to talk about habitats—the places where animals live. What would your animal need around it for food, shelter and protection?
You could add cut-paper leaves, rocks or plants to build the scene.
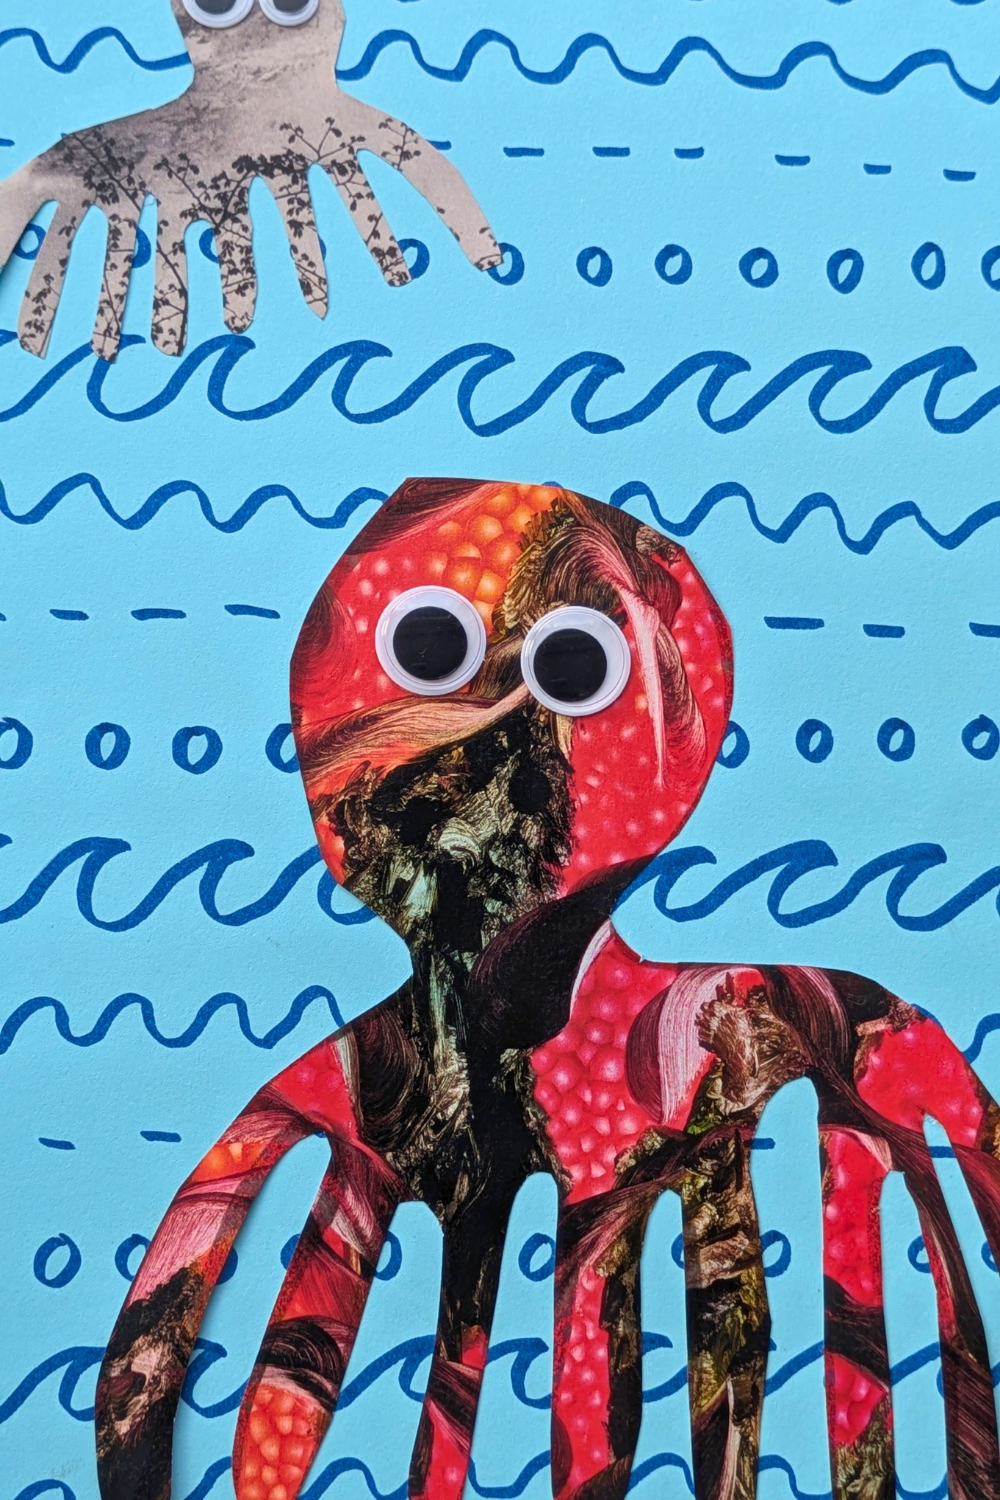
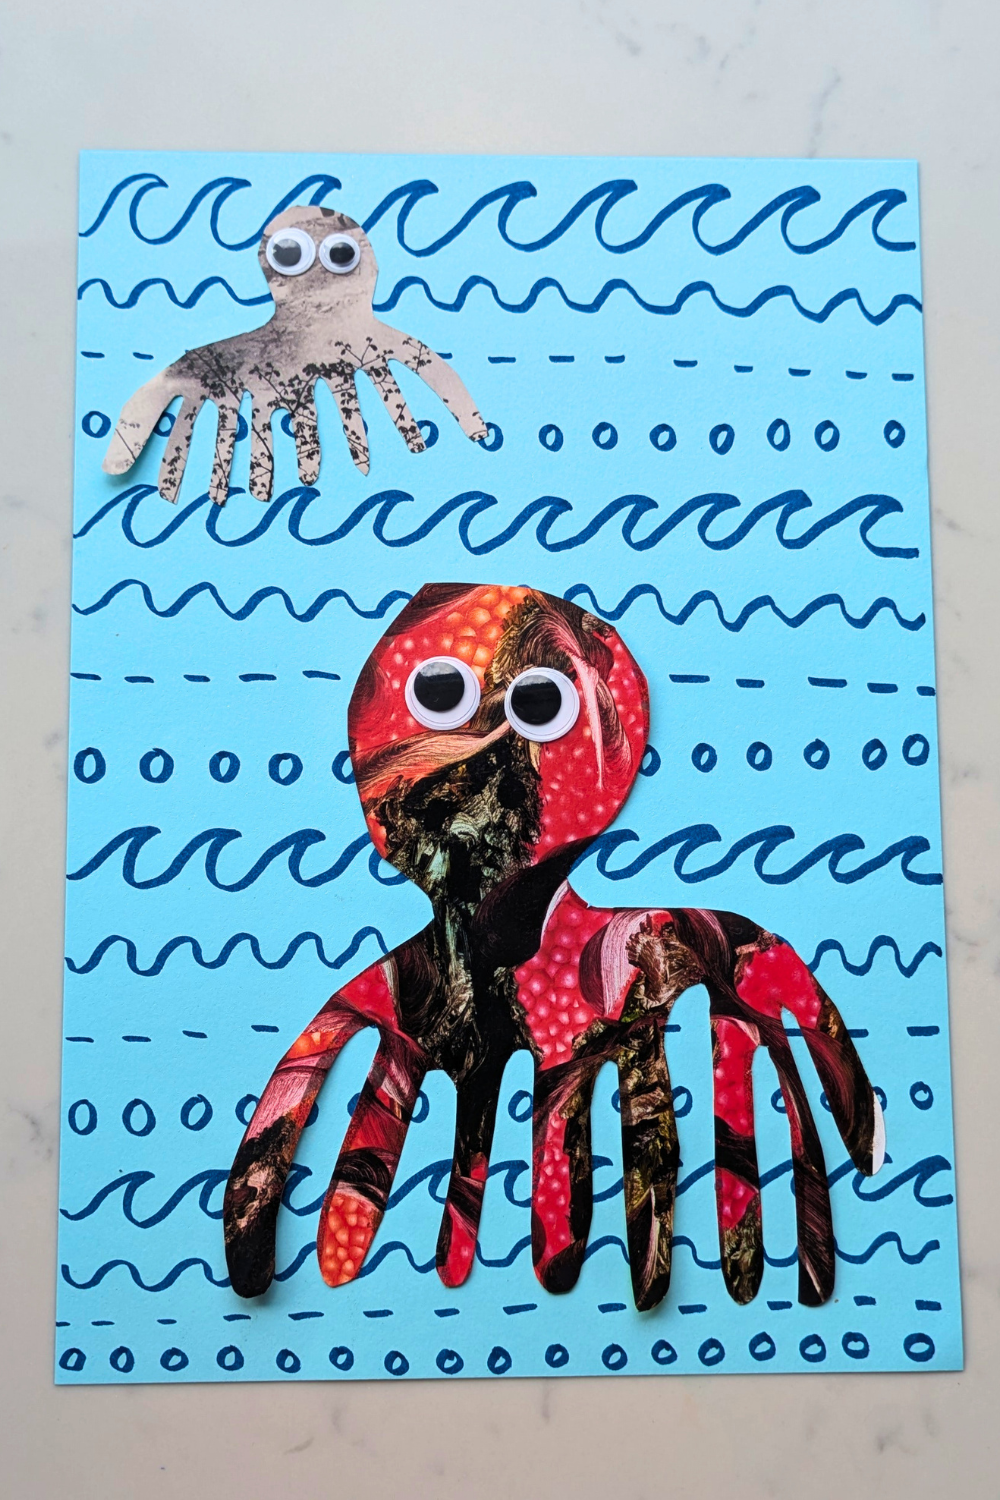
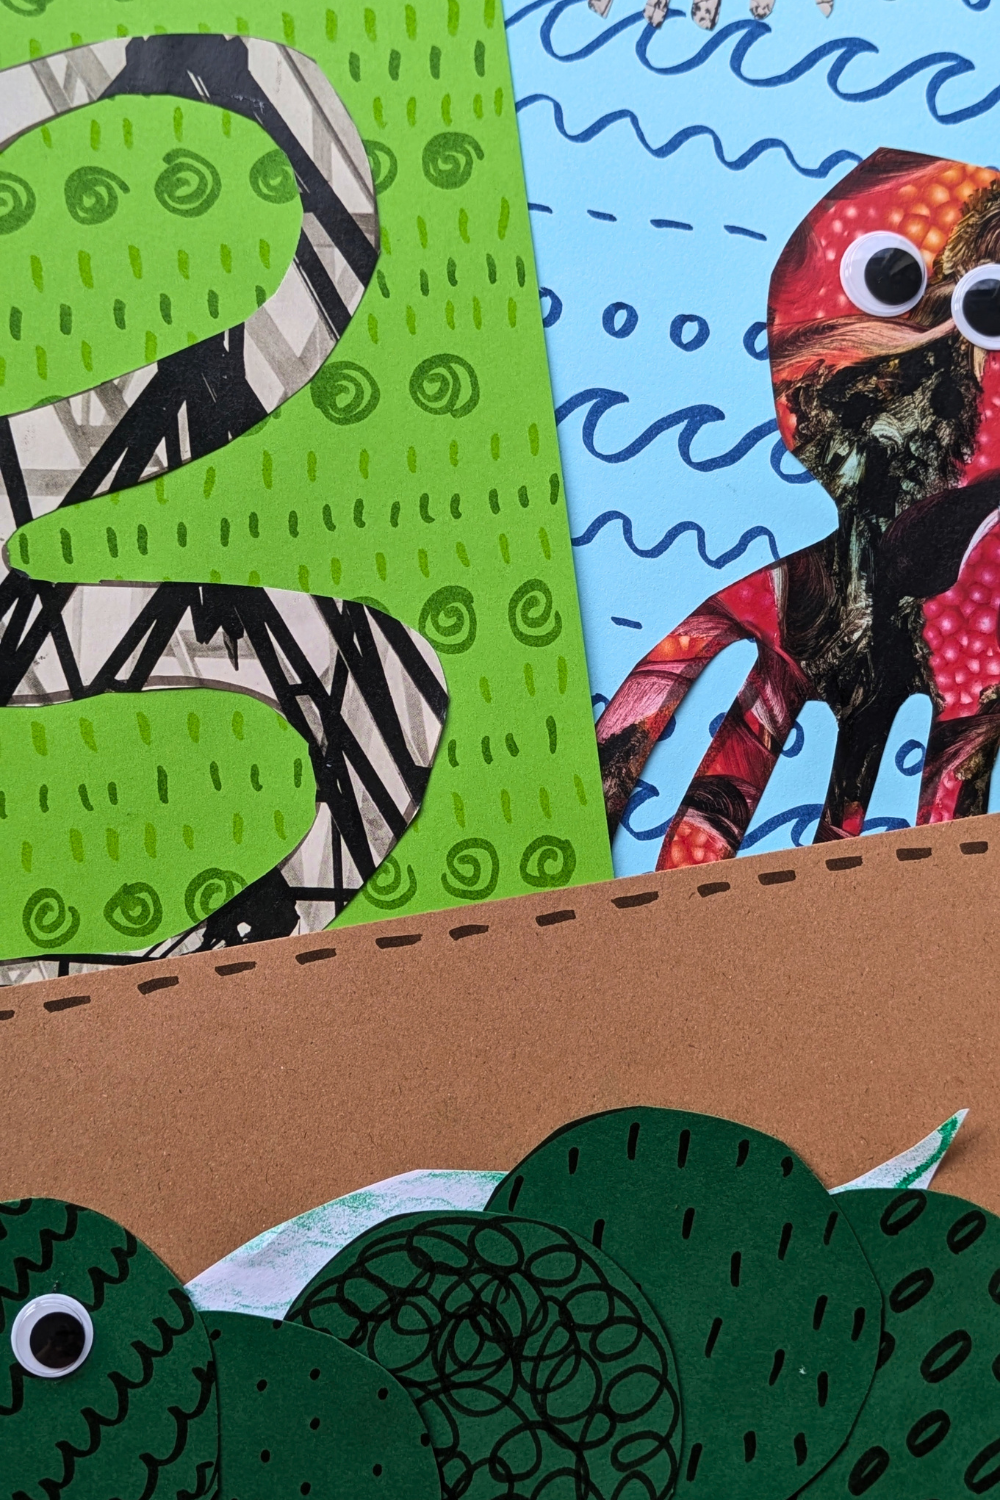
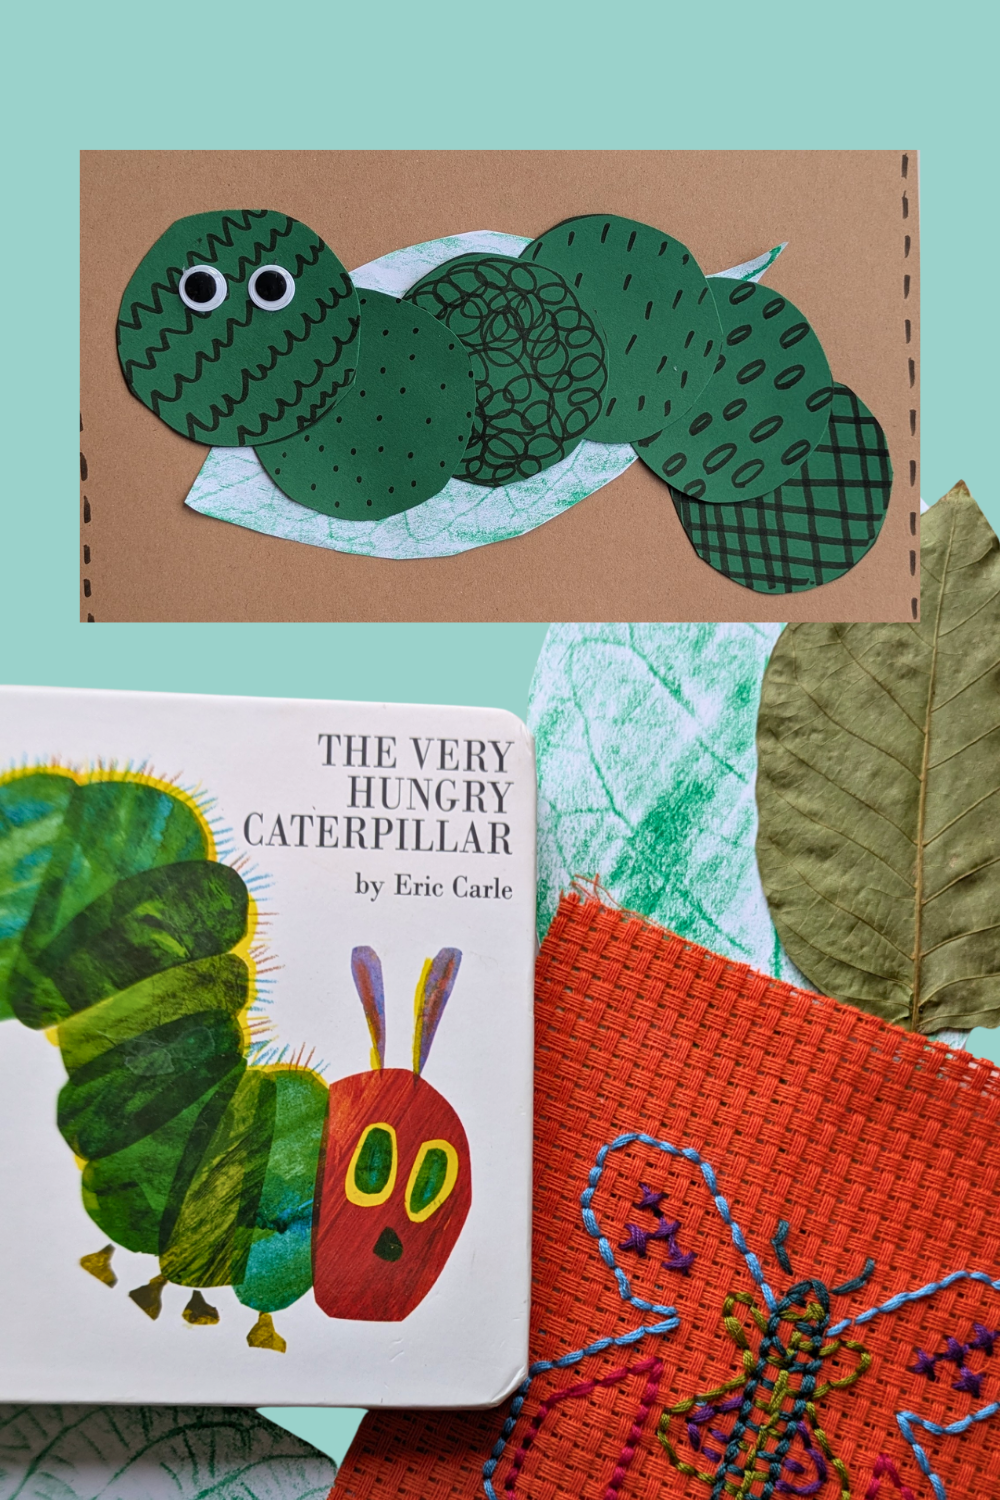
4. Arrange before sticking
Place your shapes on the background before reaching for the glue. Move them around, try overlapping pieces and turn them in different directions.
Where does your animal look best? What happens if it curls around a leaf or hides behind a plant?
Once you’re happy with the arrangement, stick the pieces down and add eyes or other details.
Taking it further with older children
Older children can use marks to suggest scales, fur or feathers, cut more intricate shapes, and layer their habitat to create a foreground and background. Encourage them to choose colours and patterns deliberately: will their animal blend into its surroundings or stand out?
Every collage can be different. The same collection of marks and paper shapes could become an underwater scene, a leafy garden or an entirely imaginary world.